As all major fantasy fans and aspiring authors know, mapmaking is pivotal to the worldbuilding process. Even if you just want to play around and it’s not for a novel specifically, creating a fantasy map can help you envision it differently.
It certainly helps with plotting if you’re writing a fantasy novel.
But there are many ways to make one, some of which require dolling out a few hundred dollars for a graphic designer to create it. But that’s not always necessary.
Whether your goal is to write the best fantasy book series (complete with complex worldbuilding) or just map out your world as a part of your book outlining process, we’ll teach you how to make your fantasy maps. The best part? They’re free (or very cheap).
3 Methods to Make a Fantasy Map
The method you’ll use to make your map largely depends on what you’re looking for as a final result.
These are the primary options you’ll have:
- Draw it yourself
- Hire a graphic designer
- Use a map-making software
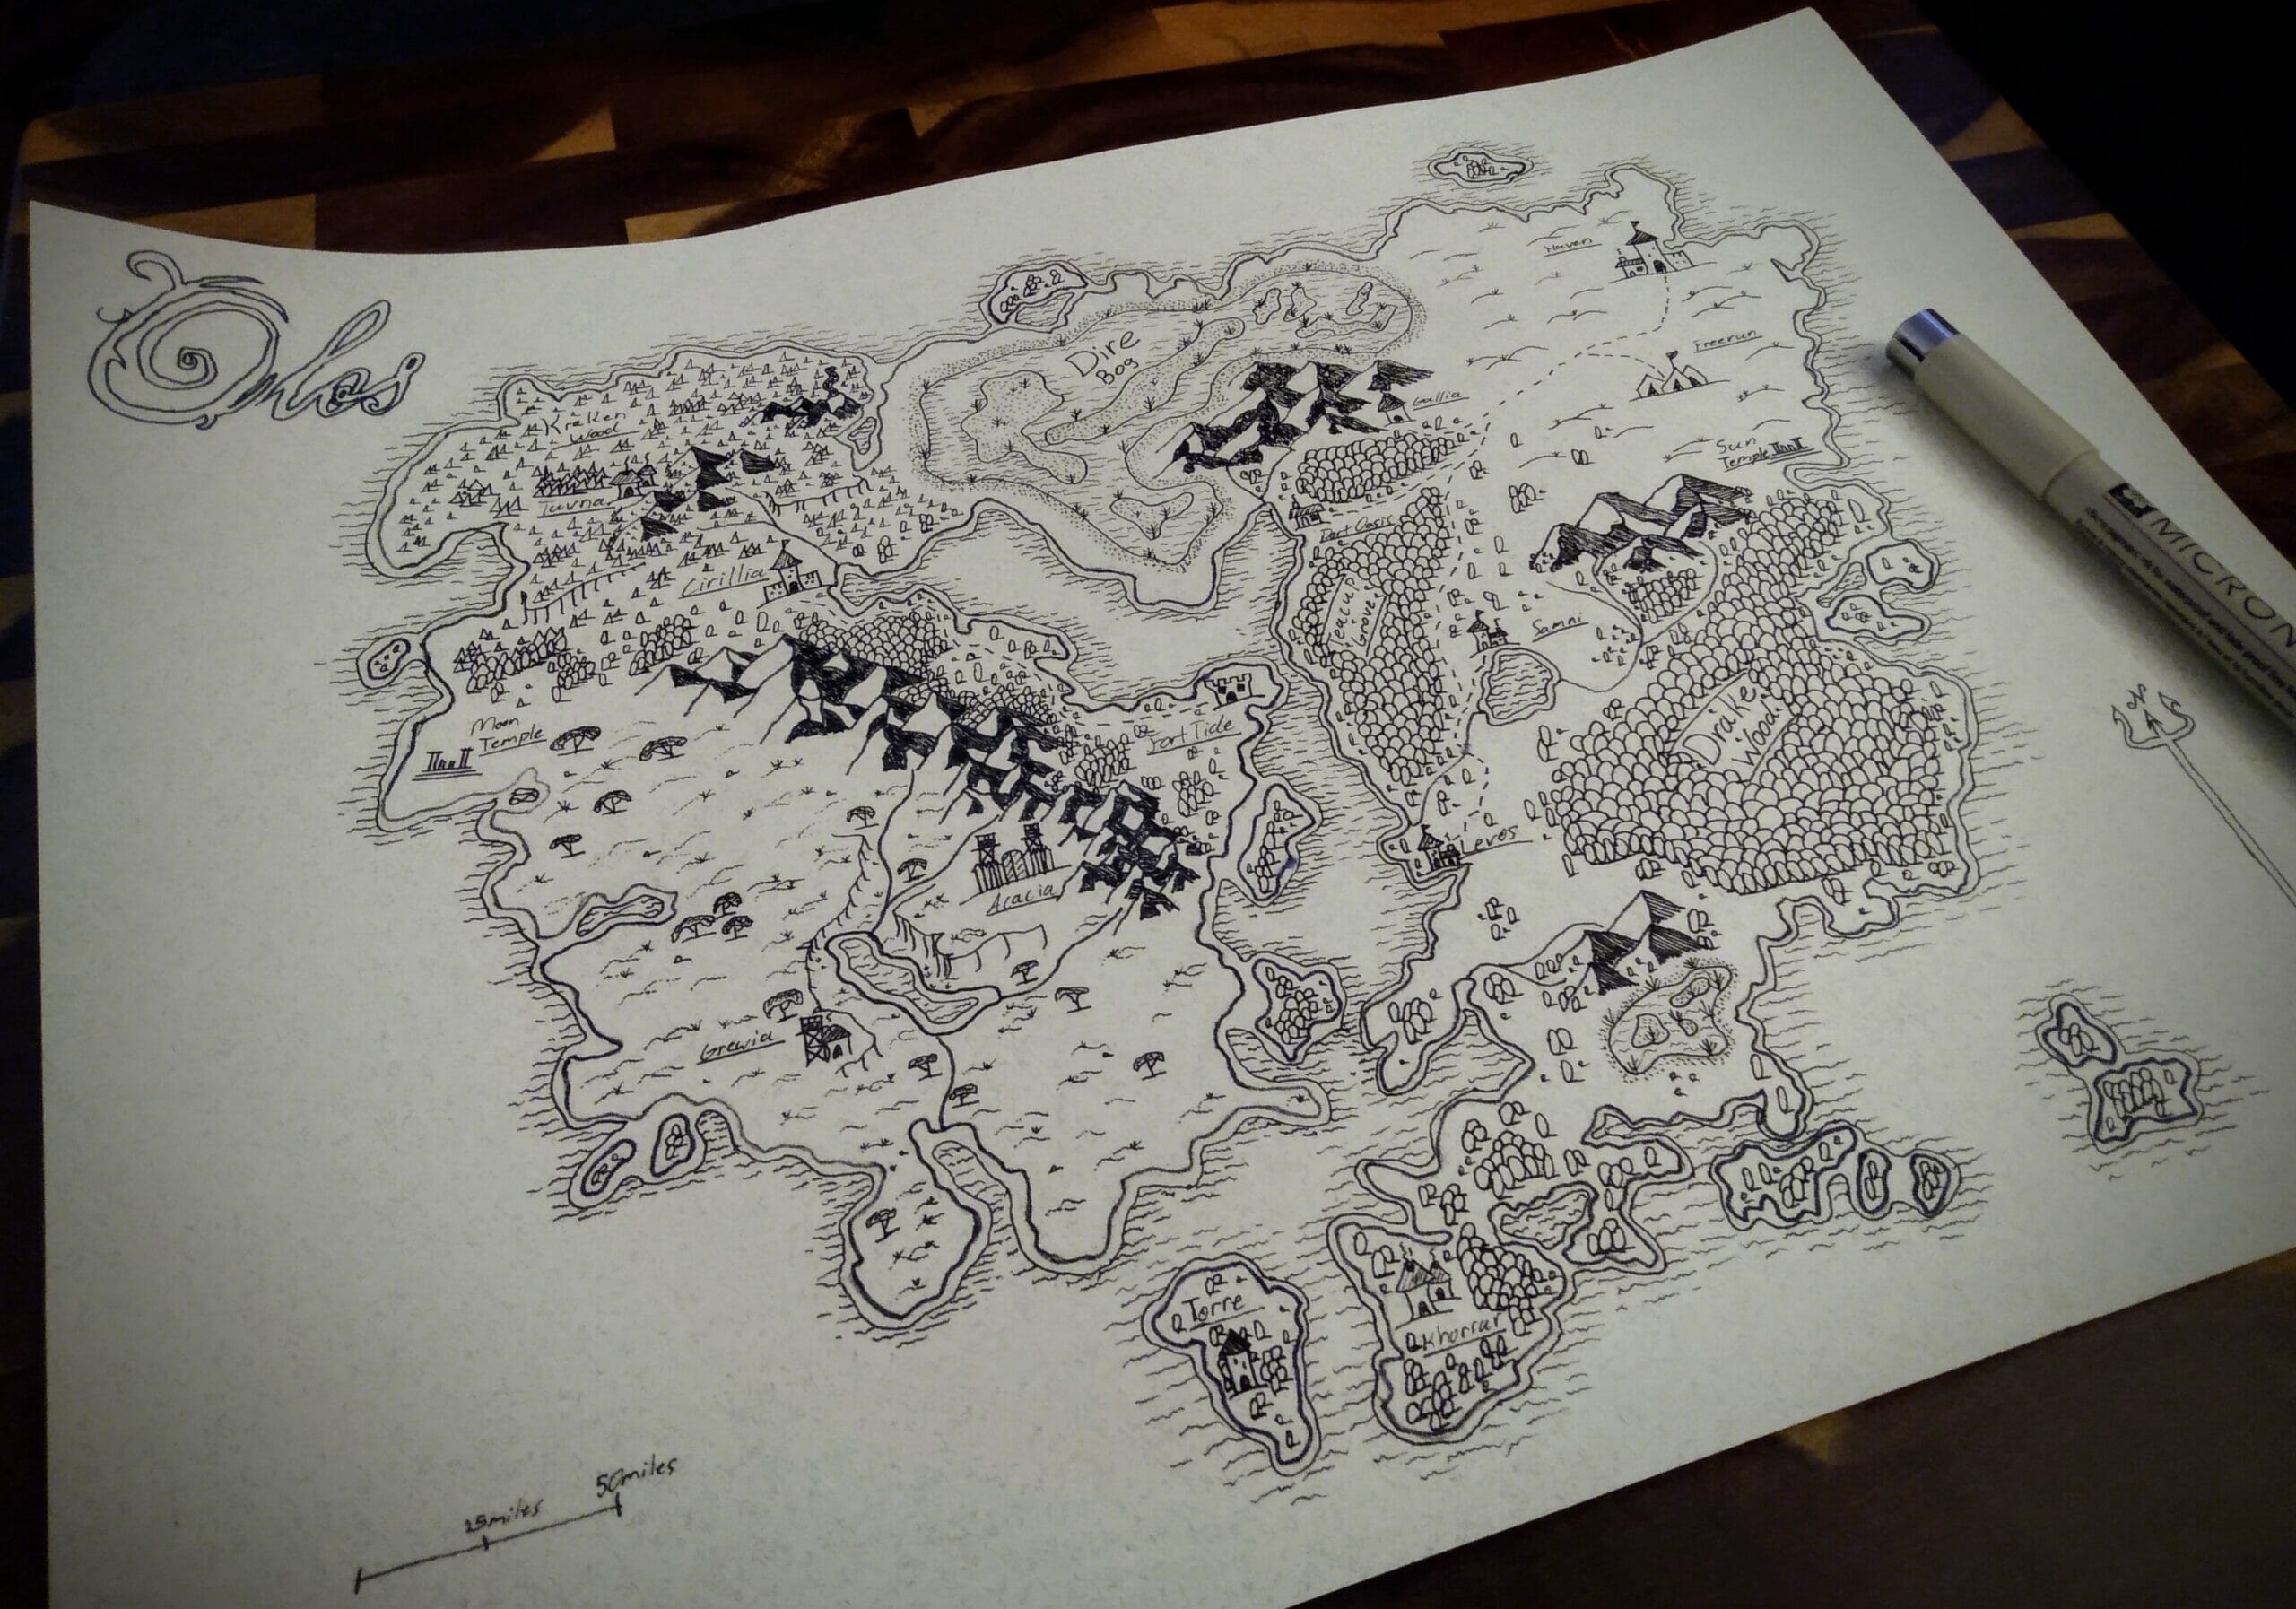
They all come with their ups and downs. Hand drawn maps, for example, allow you to truly customize what’s present. You can draw whatever you want, wherever you want. Below is an example of a hand drawn fantasy map, colored in.
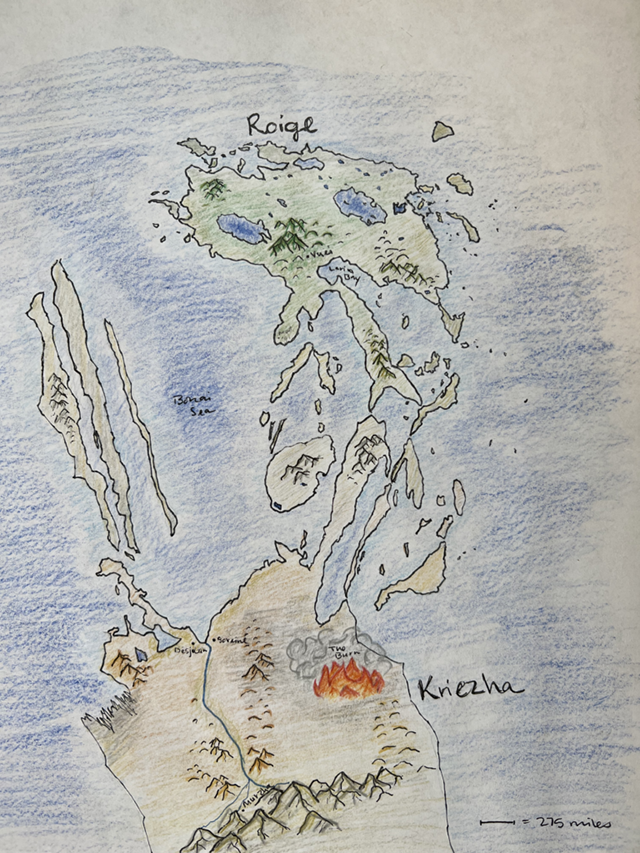
Hiring a graphic designer is great for those who can afford it and need the map more for visual elements instead of enjoying the process of making it. If you’re the type who loves to make maps but have zero graphic design experience, then choosing a software you can use is the best bet.
Most people who publish a book with a map typically use a combination of these. They might hand draw it and later hire a designer to make it print-worthy.
Choose the best option for you and move on to the next steps!
Fantasy Map Making Software to Choose From
This option for learning how to make a fantasy map is among the most popular. You can customize your map to about 90% of what you want with the higher tier softwares, even without any graphic design experience.
Take this map example from Tales of Bastunia created with the software Inkarnate:
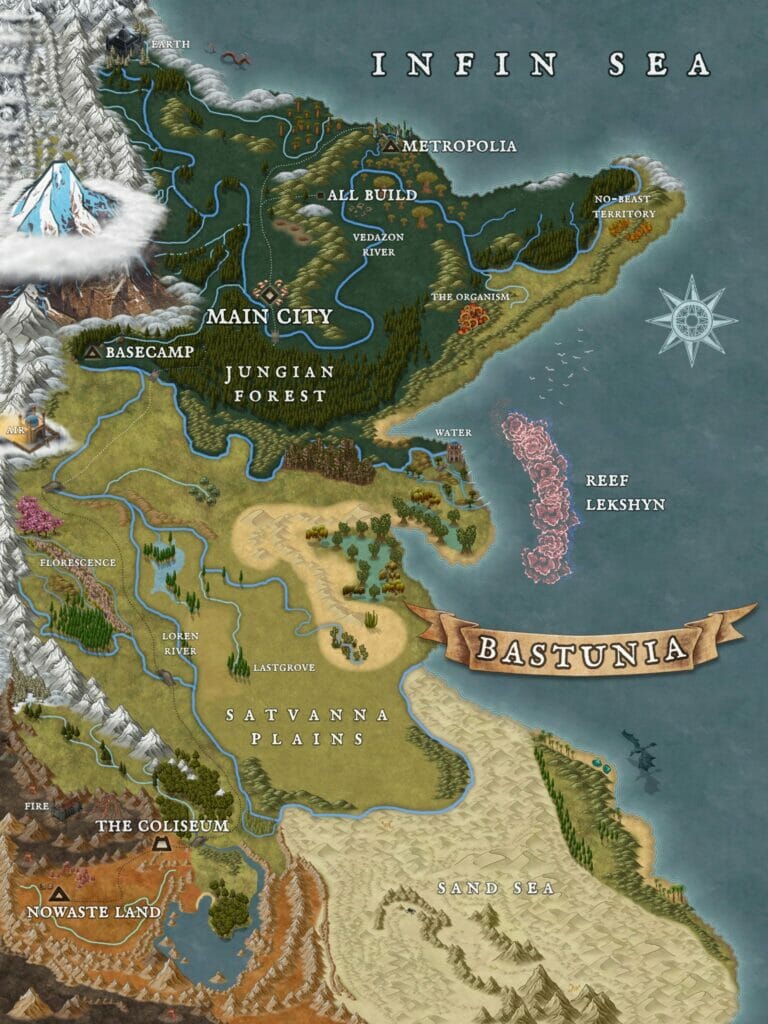
As you can see, it’s very advanced with many different features. However, it does require many hours of time to put together a map of this caliber.
If software seems like the best fit for you, here are a few recommended fantasy mapmaking software:
This isn’t an exhaustive list. There are new mapmakers popping up everywhere. If you want to find your own, just do a Google for “fantasy mapmaking software” and do some browsing.
How to Make a Fantasy Map No Matter How You Do It
It’s not enough to have a software where you can drag-and-drop your map. Part of the fun of learning how to make a fantasy map is being able to understand how geography works and how landmasses are actually built.
It’s highly unlikely that a mountain will rise directly out of flatlands with no hills or smaller mountains around it, because of how mountains form. Of course, if the sudden emergence of a mountain from nothing is a fantasy element in your world, that’s different.
Let’s go through the step by step process of how to start building your fantasy map.
Step 1 – Build the land
In this step, you’re creating what will be land in the ocean. You’re creating the shape and structure of the land. If you’re showcasing a world map for your fantasy world, you’ll probably shape very continent, ocean, and see.
If you’re zooming in on a certain area of your world, you can just create the blank canvas and make the whole thing land.
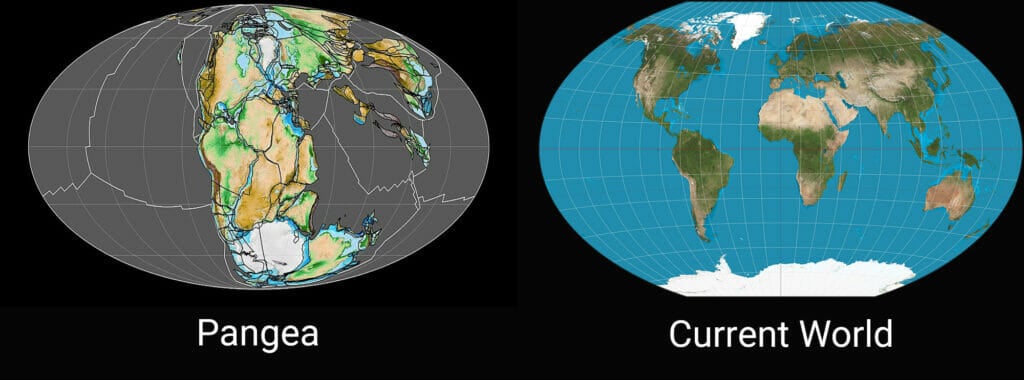
To make these look more realistic, a good exercise is to make your world as if it was one large continent, and then imagine how the landmasses would pull apart over millions of years. This is similar to how our world used to be a sole continent called Pangea.
Over time, the land does split apart, but does so in a way that makes each continent look like pieces of a puzzle that you could move back into place. The more you can do this with your land masses—make them look like they’d fit together—the more realistic they’d be.
Step 2 – Set the geography
After the land masses have been created, you get to build more of what the landscape looks like, the geography of the world. How detailed you want to get with this is totally up to you and what’s most relevant to your story.
You can go so far as to brainstorm where tectonic plates are and how those would have created mountains, rivers, and seas, or you can keep it simple and make it up as you go along. Just make sure to understand basic geography if you want to keep your world realistic.
Now, if you want to make it extra magical with the world created by magic, then it’s fine for rivers to flow up mountains. Decide what level of realism you want and go from there.
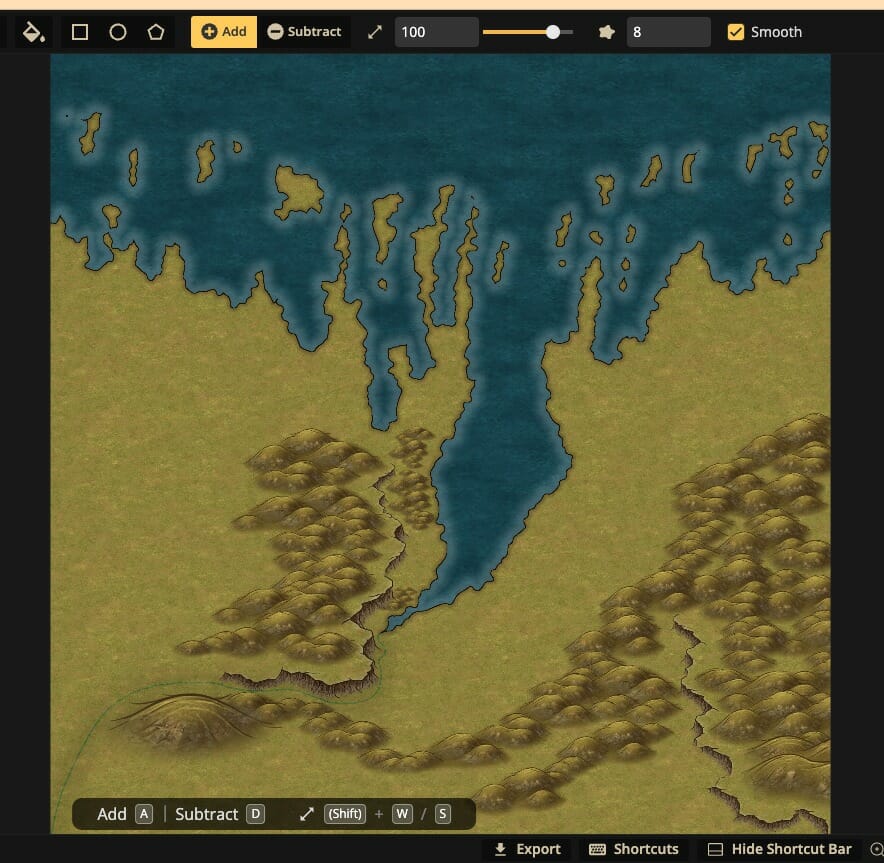
At this stage, your fantasy map might look something like this—bare and plain.
Step 3 – Create major landmarks
At this point in learning how to make a fantasy map, you should know the main towns, cities, and other major landmarks, whether they be natural or manmade. Once you have the geography, you can place these landmarks in appropriate areas.
Here are a few things to remember to make your fantasy map realistic:
- Cities are often built around water like lakes or rivers
- There aren’t often major settlements on mountainsides unless they’re small and secluded
- Mountains tend to be disrupters of geography, making the climate different on opposite sides
- Ports for shipping are often created on bays or seas with easy accessibility
During this stage, you’re not building the cities yet, you’re just created the space for them by altering the geography (slightly) to clear it out for development.
Step 4 – Create roads and pathways
Once you know where the major landmarks are, you can start crafting roads from each spot. While you definitely can do this after the settlements have been built, you want to make the roadways first so you know where to place other smaller towns, train stations, or other settlements throughout.
Remember that roads are usually built for convenience. If people don’t have to dig into rock or mountain, they won’t. The level of technology accessible to your fantasy world people also matters. If they don’t have the tools or equipment to carve, blast, or dig out rock, then roads will have to cease or go around mountains. Also consider whether bridges will need to be used.
Step 5 – Add buildings and residential areas
This step is pretty self-explanatory. Just make sure that the material of the buildings match the economic level of the users. If you have a royal palace, the buildings near it would be nicer quality since they’d be surrounded by wealthier people.
Similarly, the material of buildings in the lesser-developed part of the area would be cheaper, more basic elements. Keep this in mind when placing your areas.
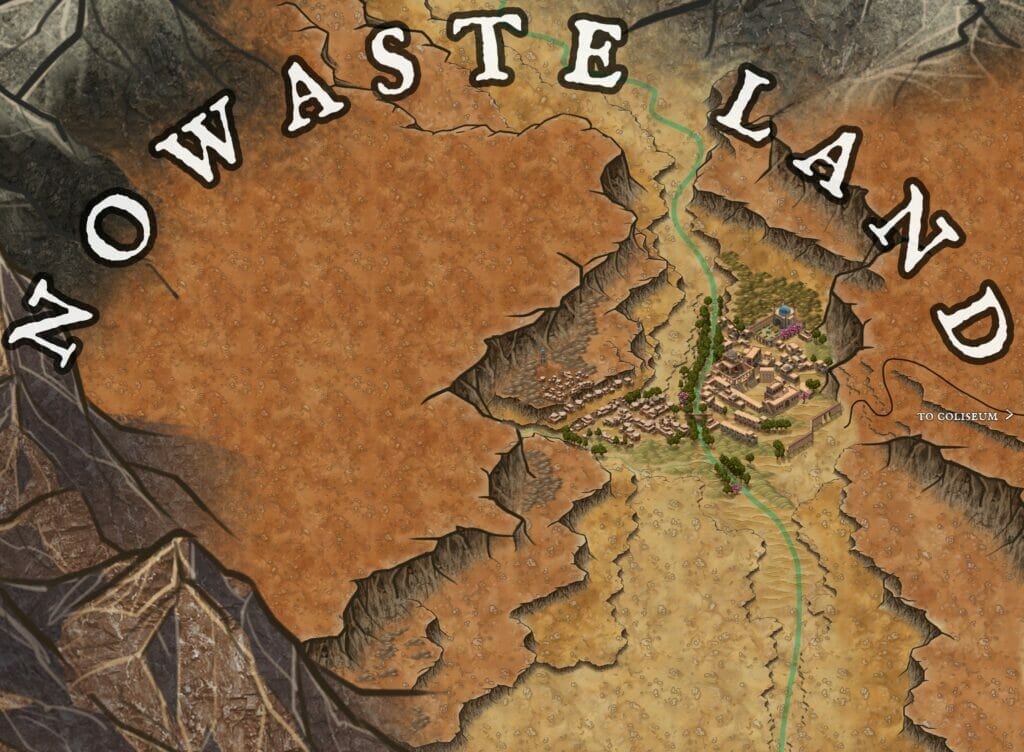
At this stage, your fantasy world map might look similar to this one of Bastunia by Unfound Anamnesis:
Step 6 – Add labels
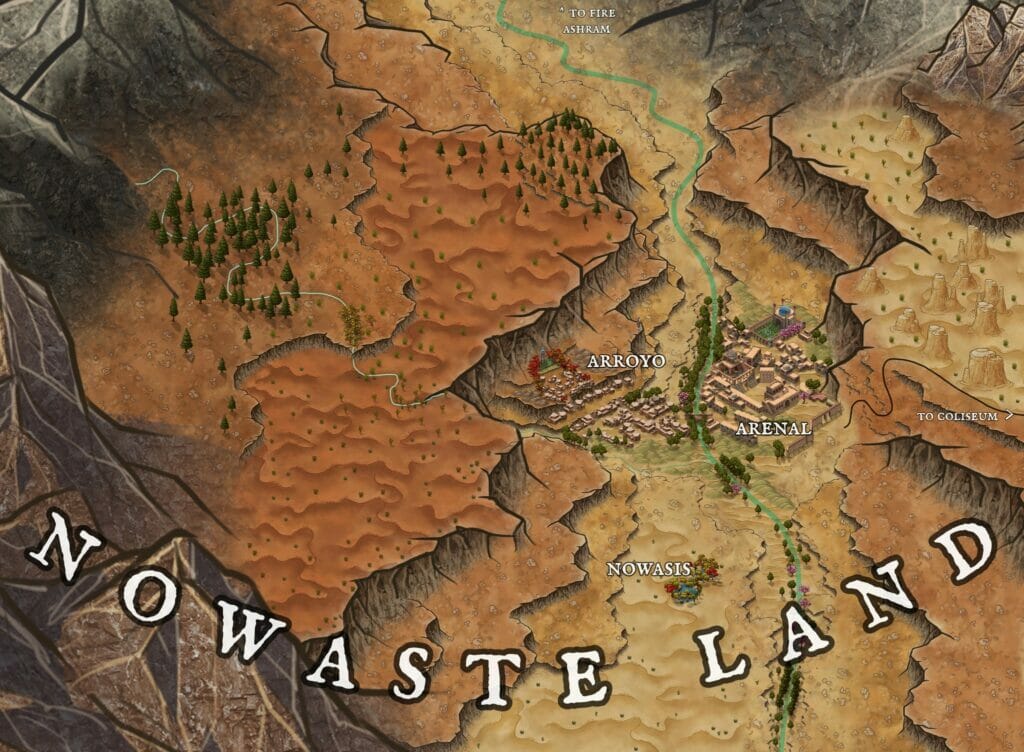
Now you get to name everything! You probably have most locations named at this point. To add them to your map, you’ll want to find a font that’s fitting for your world (yes, font matters), and add the names above the locations.
The example above looks like this after being named:
Step 7 – Fine tune the details
While building, you might decide to change or add a few things. After you’ve done the main work, you can go back and add trees, different textures to represent the landscape, and all the small details that will give your world and extra punch.
Now’s a good time to also consider shading and coloring the various areas if the software you’re using has those options. If you forgot anything else, add it now!
5 Iconic Examples of Fantasy Maps to Learn From
Let’s take a look at the fantasy maps used in printed versions of published books thus far so you can get the idea of what you’re shooting for at the end.
1. Way of Kings by Brandon Sanderson
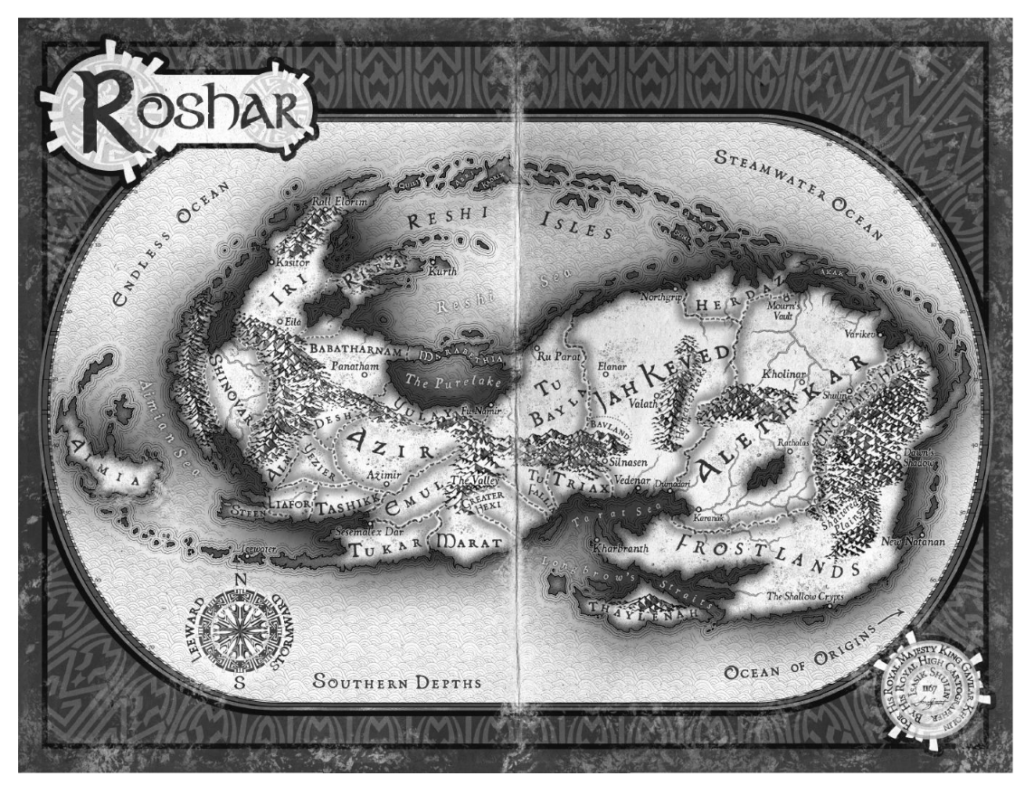
If you write fantasy and have not yet read (or heard of) this series by Brandon Sanderson, you’re surely missing out. As with most of his fantasy works (like Mistborn), this one contains a map, this time of the entire world of Roshar. Because this epic spans many different perspectives from people in various parts of the world, including a whole world map is necessary.
In other series, like Mistborn, the map is only of a city. Only include what’s needed when making your fantasy map.
2. Game of Thrones by George R.R. Martin
This series is also known for its worldwide disputes with various characters residing in different parts of the lands. Again, because of this, there’s a map for the world placed inside the book so readers can envision the relation of different places.
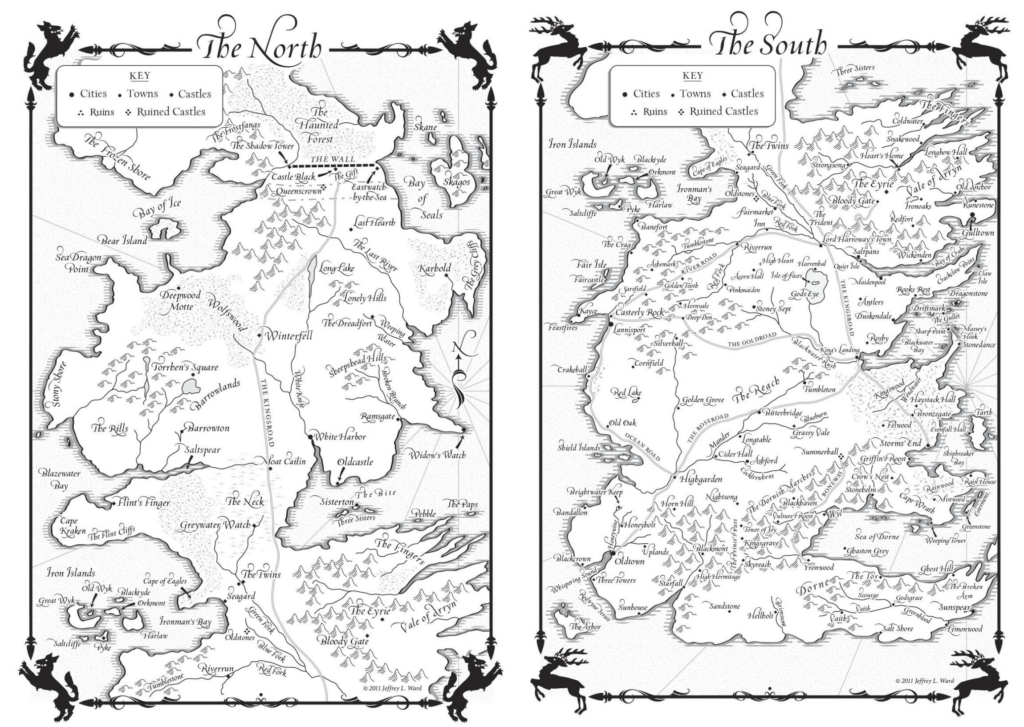
This map is different than Sanderson’s in that it has a key, with different markers to help the reader visualize what’s in different locations. This way, you don’t have to make the map as detailed while still conveying what it might look like.
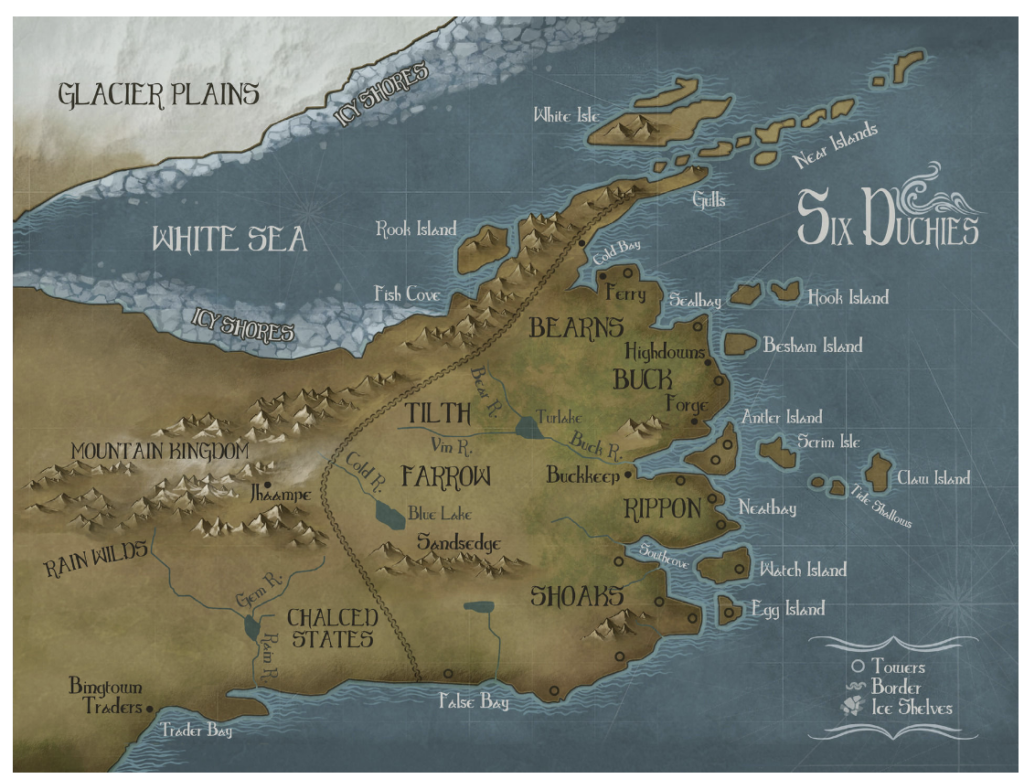
3. The Assassin’s Apprentice by Robin Hobb
This is a great map to showcase the zoomed-in approach when you only need to share a portion of the world. This fantasy map example is less detailed, but still shows the overall lay of the land with an emphasis on the names of locations.
It also has a key with only a few symbols.
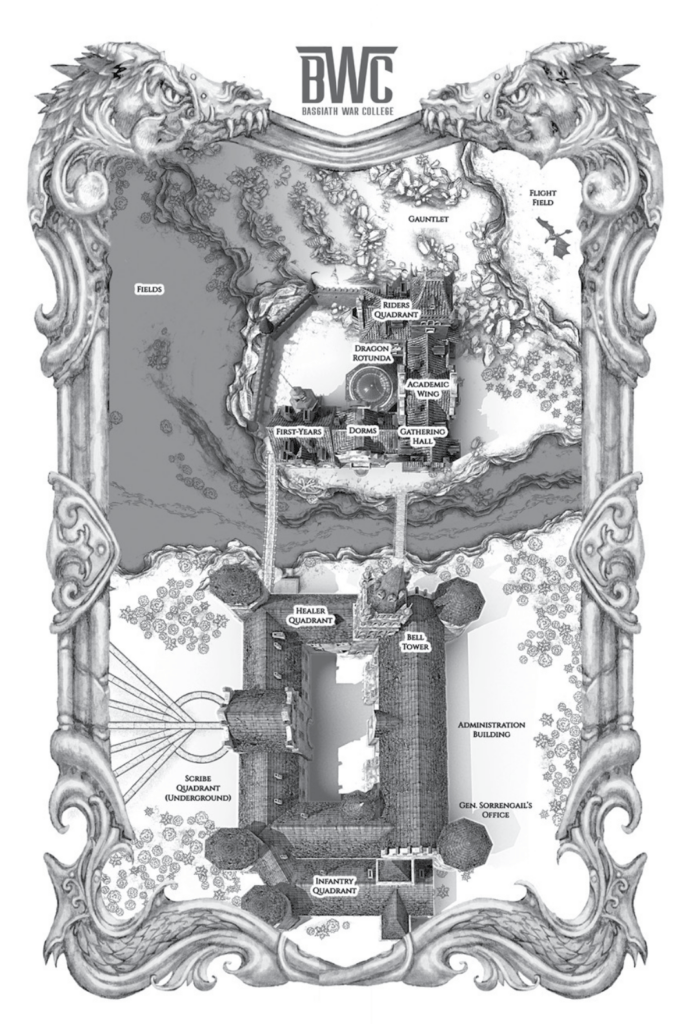
4. Fourth Wing by Rebecca Yarros
This up-and-coming fantasy has a more unique map than what you see with bigger epics. Instead of doing a lay of the overall lands, this author included a birds-eye view of a specific location that’s even more zoomed-in than the above example..
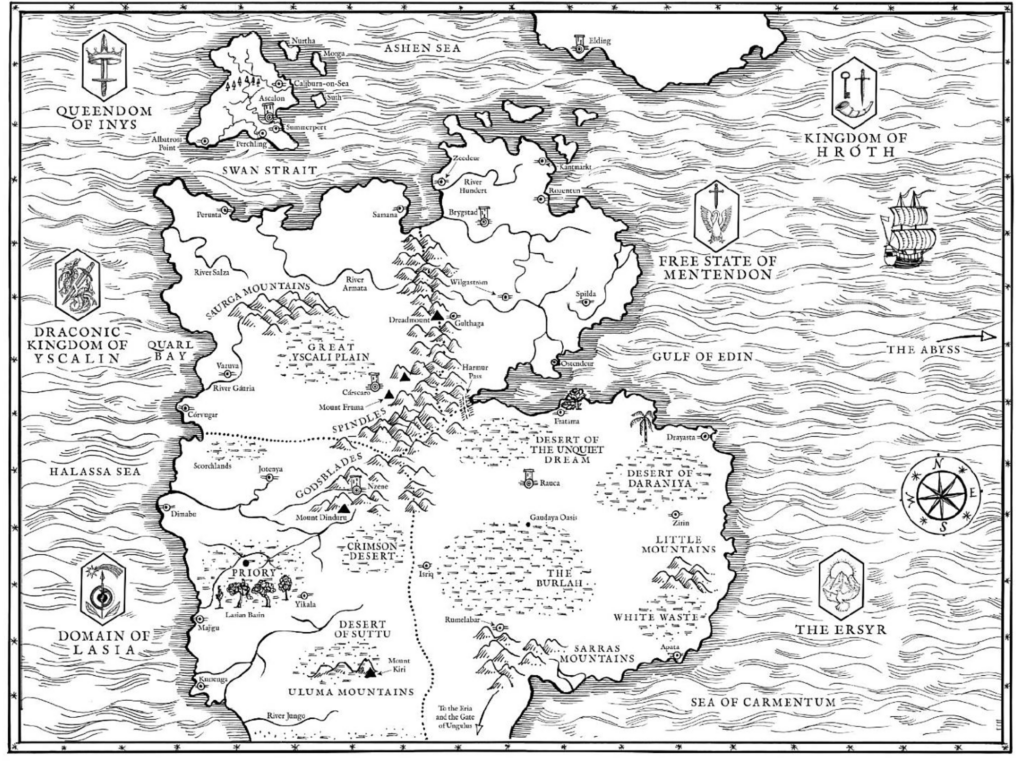
5. The Priority of the Orange Tree by Samantha Shannon
Here’s another bigger world map in a very simplistic style. This is a great example of a map that says a lot without a ton of detail. You don’t need a wild, intricate map in order to help your readers understand what’s going on.
If you’re writing a fantasy novel – whether high fantasy or low fantasy or fantasy romance – maps can go a long way to help you showcase your world without as much exposition in the writing itself. Consider making one or hiring out for one!


